
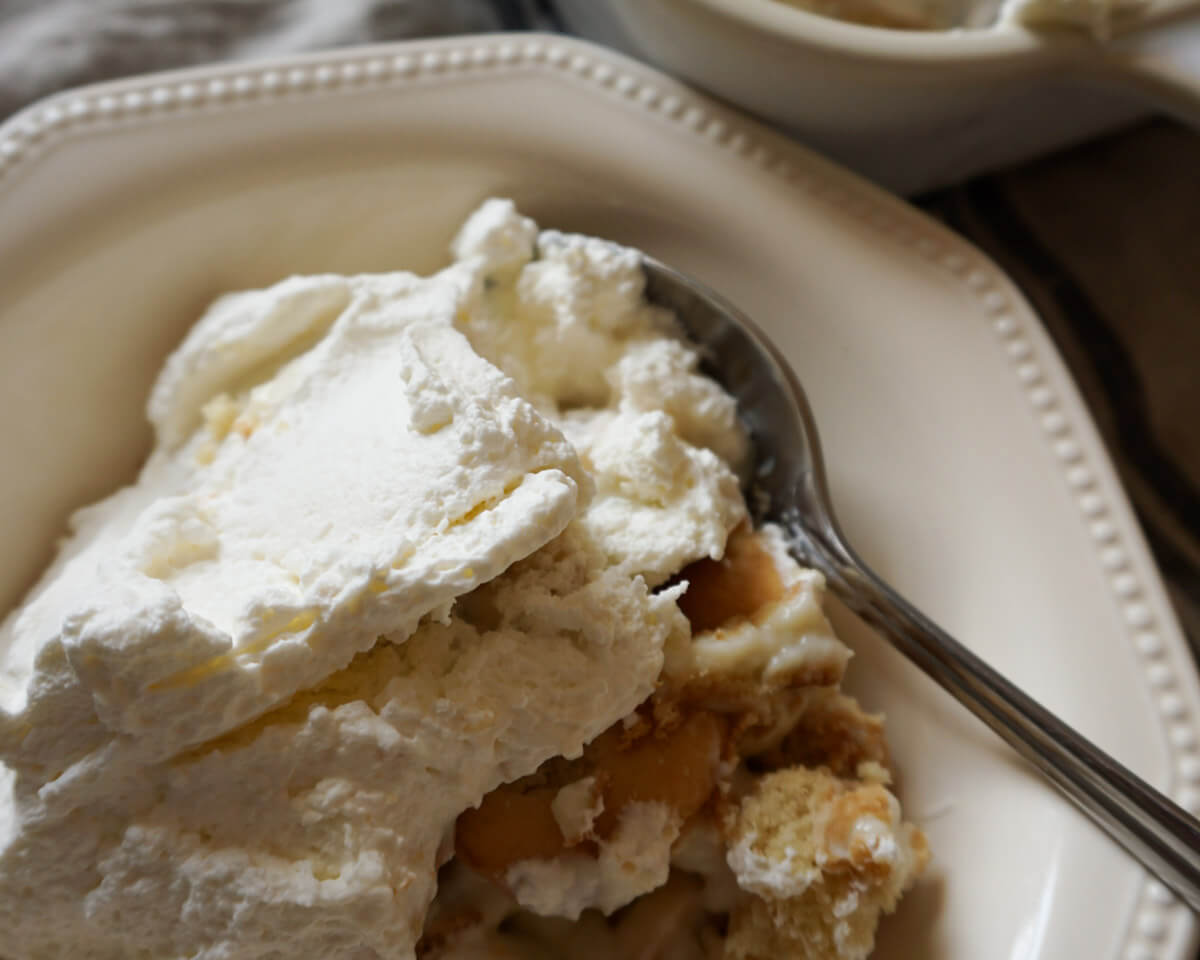
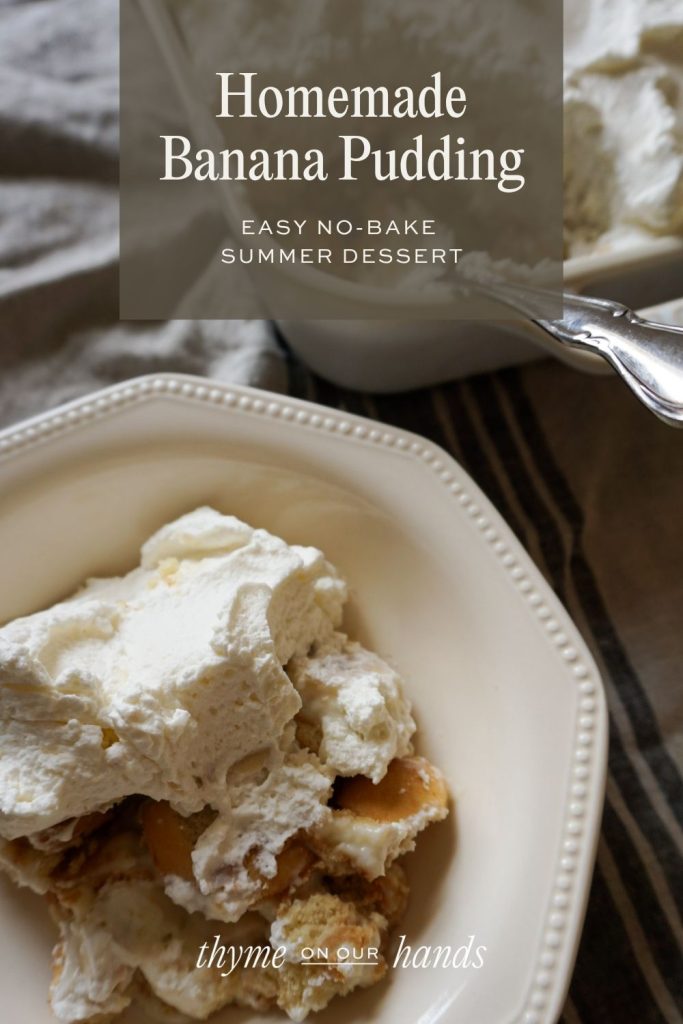
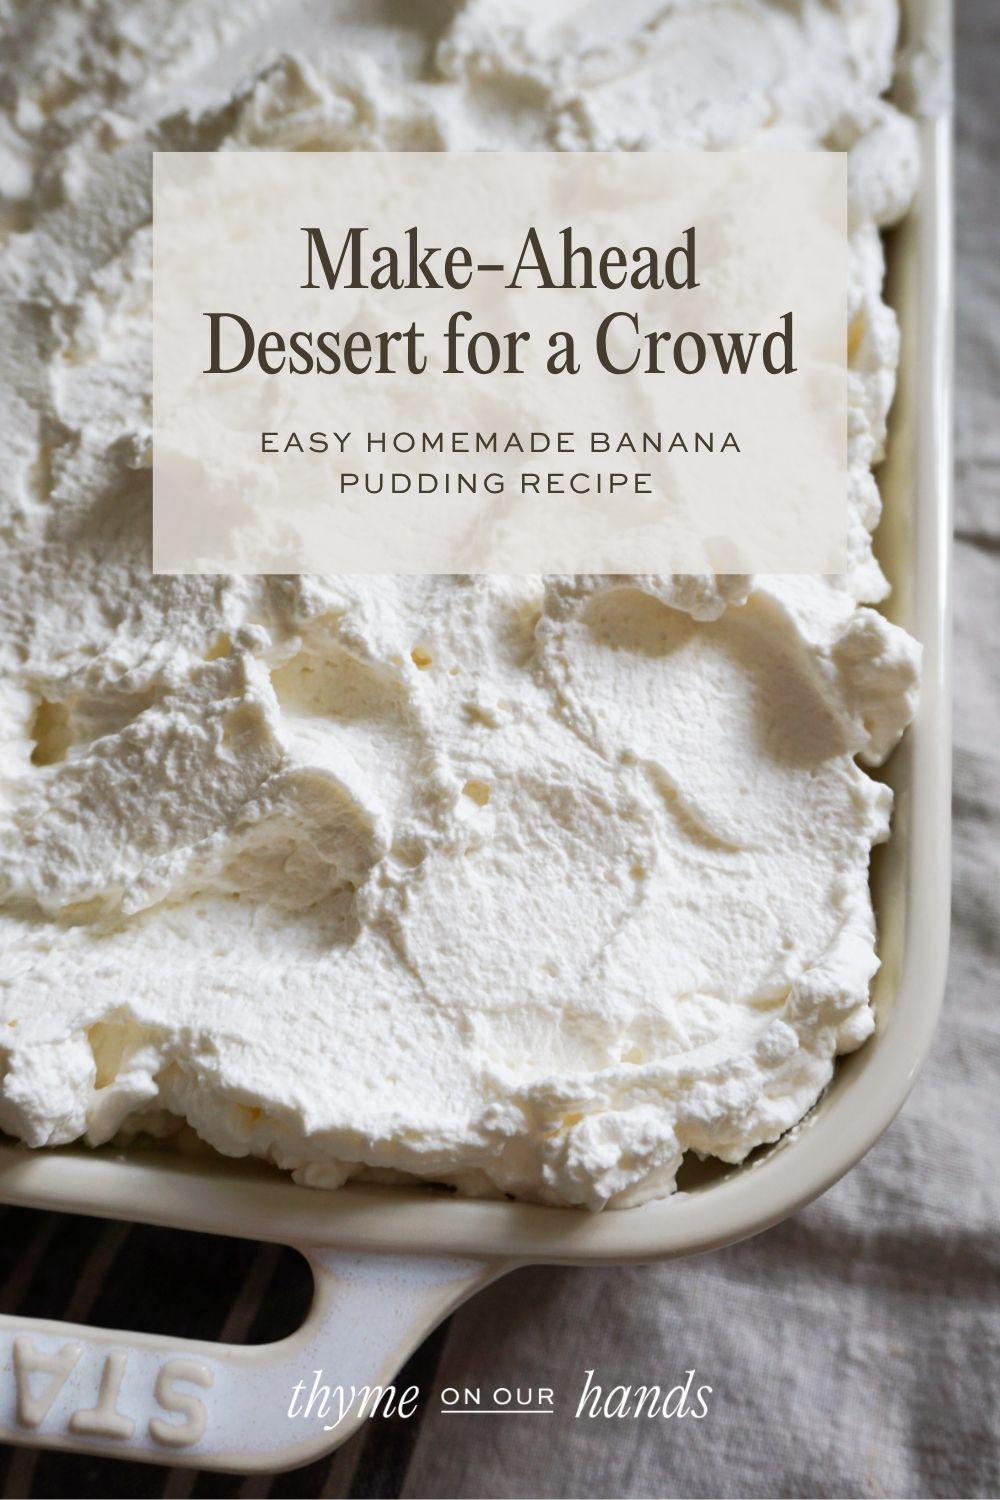
Banana Pudding
Looking for an easy homemade banana pudding recipe without instant pudding mix? This creamy banana pudding is made with homemade vanilla pudding, fresh bananas, whipped cream, and plenty of vanilla wafers for the ultimate classic summer dessert. It’s the perfect make-ahead no-bake dessert for hot summer nights, weekend cookouts, potlucks, and family gatherings.
This post may contain affiliate links, including Amazon Associates links. As an Amazon Associate, I earn from qualifying purchases. If you choose to purchase through my links, it truly helps support my blog and keeps this content free. Please see my full disclosure policy here.
I grew up loving banana pudding from Southern-style cafeteria restaurants like J&S Cafeteria. This kind of Southern banana pudding always brings back memories for me, even though my mum never made it at home.
When I first tried to make it myself, most recipes I found used instant pudding mix and sweetened condensed milk. I’ve never liked pudding mixes — they taste artificial and too sugary to me. So I decided to make a simple vanilla pudding from scratch, which lets me control the ingredients and sweetness. The only thing I can’t control is that my husband loves his banana pudding packed with vanilla wafers, so we always use the family-size box.
This easy no-bake summer dessert takes about 30 minutes to prepare and chills in the fridge until perfectly creamy and set. It’s simple, family-friendly, and made with ingredients I almost always have on hand.
Why you’ll love this homemade banana pudding recipe
- Easy no-bake summer dessert
- Made from scratch with homemade vanilla pudding and fresh whipped cream (no instant pudding mix or Cool Whip)
- Budget-friendly ingredients
- Perfect make-ahead dessert for a crowd (9×13 pan)
- Extra vanilla wafers in every bite
- Classic Southern banana pudding recipe
Ingredients for homemade banana pudding
- Cornstarch or arrowroot powder
- Granulated sugar
- Salt
- Whole milk
- Egg yolks
- Vanilla extract
- Vanilla wafers
- Heavy whipping cream
- Fresh bananas
Ingredients notes
- Cornstarch gives the pudding a classic texture, but arrowroot powder also works well if needed.
- My husband loves his banana pudding packed with vanilla wafers, so I usually use a family-size box for a full 9×13 pan. If I make it in a smaller 7×10 dish, a regular 11-ounce box is usually enough.
- Use bananas that are ripe but still firm with no brown spots. Overripe bananas can become mushy and watery in the pudding.
Pan size & scaling
This recipe fills a 9×13 pan, but sometimes I make a smaller batch in a 7×10 dish, which serves about 6 people. To make a smaller version, I reduce the ingredients by about two-thirds. For example, I use 2 egg yolks instead of 3 and reduce the milk from 5 cups to 3 cups. For the 7×10 pan, one regular 11-ounce box of vanilla wafers is usually enough.
Tools you’ll need
You don’t need any special equipment for this recipe, just a few basic kitchen tools:
- 9×13 baking dish
- Measuring cups
- Measuring spoons
- Medium pot
- Whisk
- Stand mixer with whisk attachment — or a hand mixer with a large mixing bowl
- Silicone spatula
Tips for the best from-scratch banana pudding
- Use firm ripe bananas for the best texture
- Let the pudding cook until thick enough to coat the back of a spoon
- Stir the pudding frequently to prevent lumps and scorching
- Chill for at least 4 hours before serving for the best texture
How to make homemade banana pudding
Make the homemade vanilla pudding
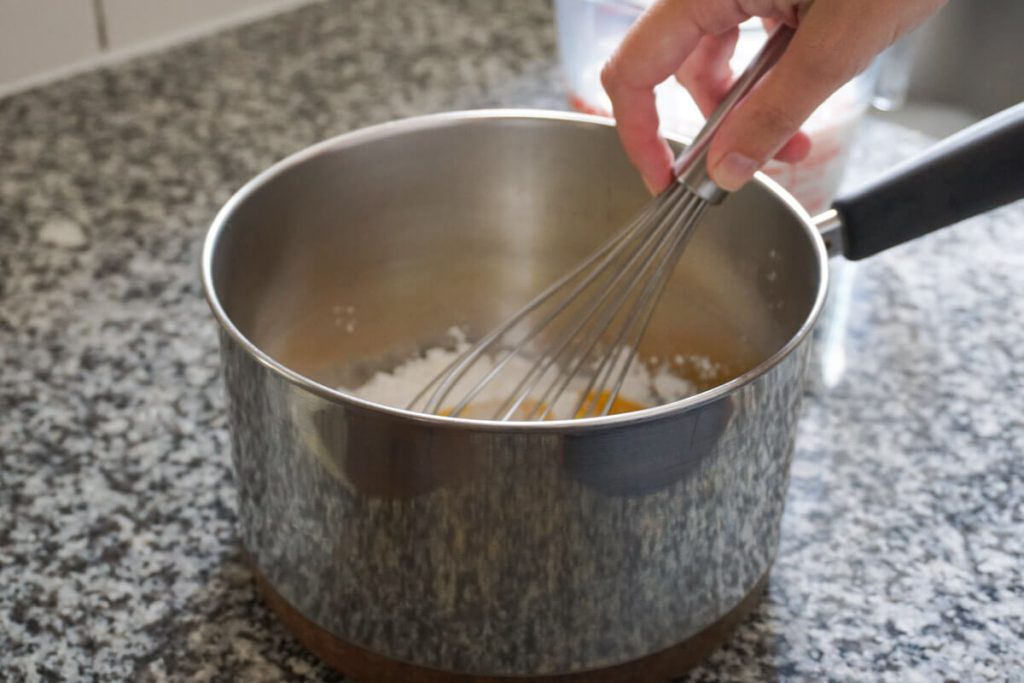
In a medium saucepan, whisk together the sugar, cornstarch, salt, egg yolks, and 1/2 cup of the milk until completely smooth. Slowly whisk in the remaining milk until fully combined with no lumps remaining.
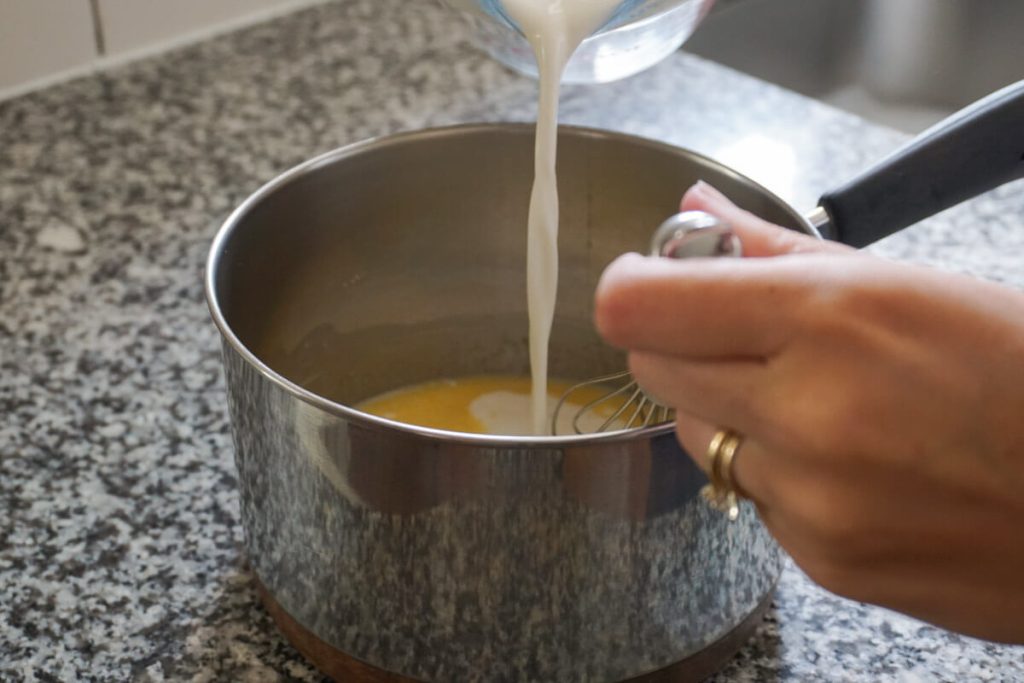
Place the saucepan over medium heat and cook, stirring frequently, until the pudding thickens and begins bubbling across the surface, about 5–10 minutes. Continue cooking for another 1–2 minutes until thick enough to coat the back of a spoon.

Remove from the heat and stir in the vanilla extract. Allow the pudding to cool slightly while preparing the remaining layers.
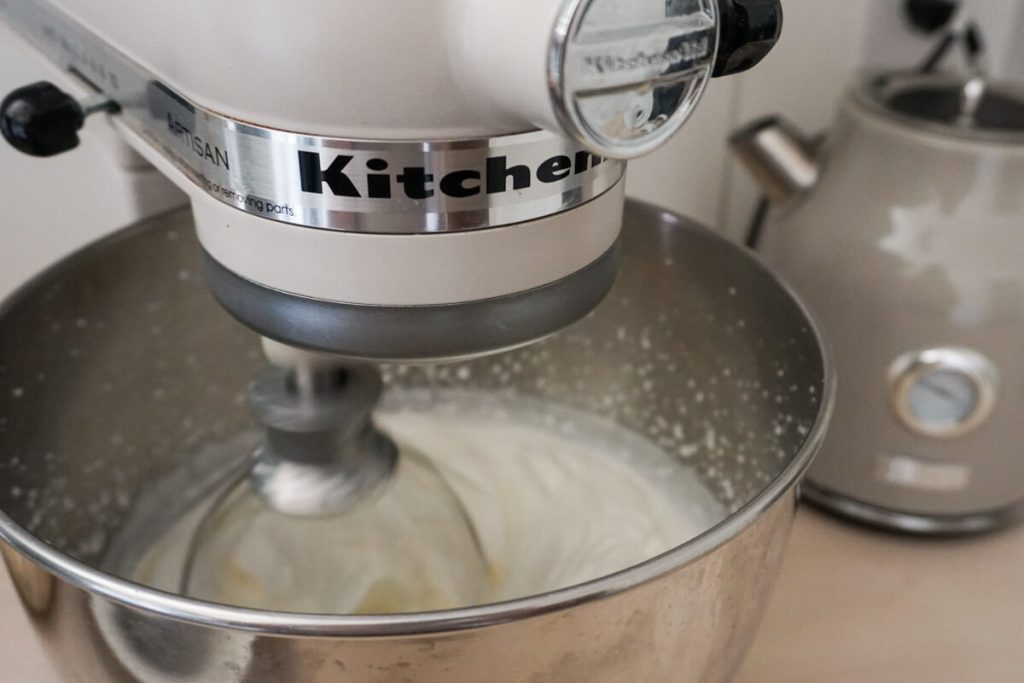
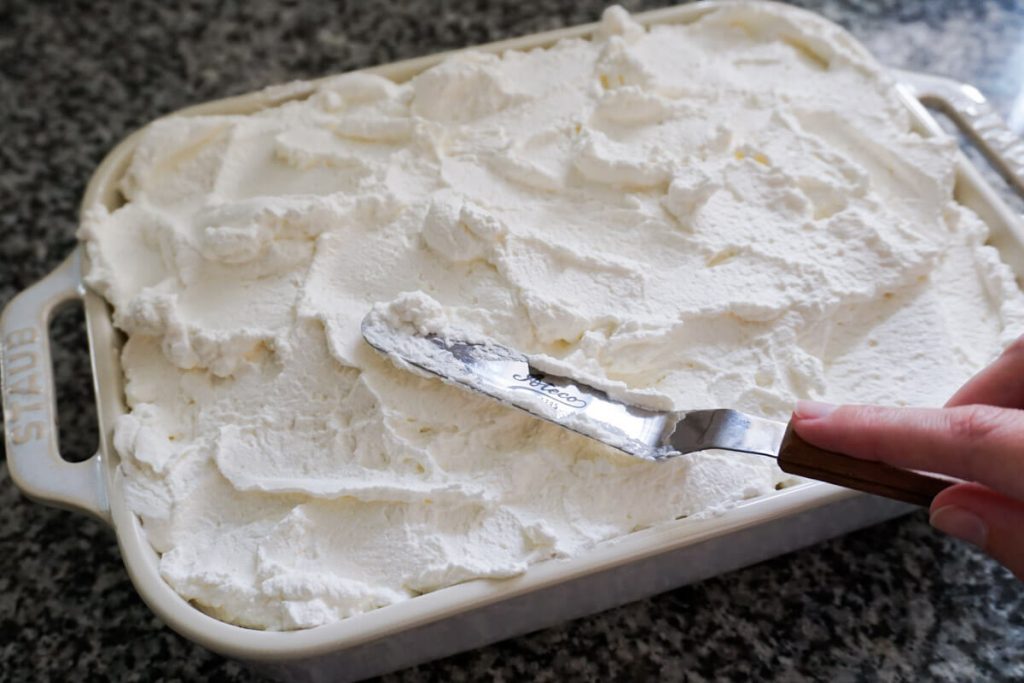
Whip the cream
In the bowl of a stand mixer or large mixing bowl, combine the heavy cream, sugar, and vanilla extract. Whip until stiff peaks form, scraping down the sides as needed.
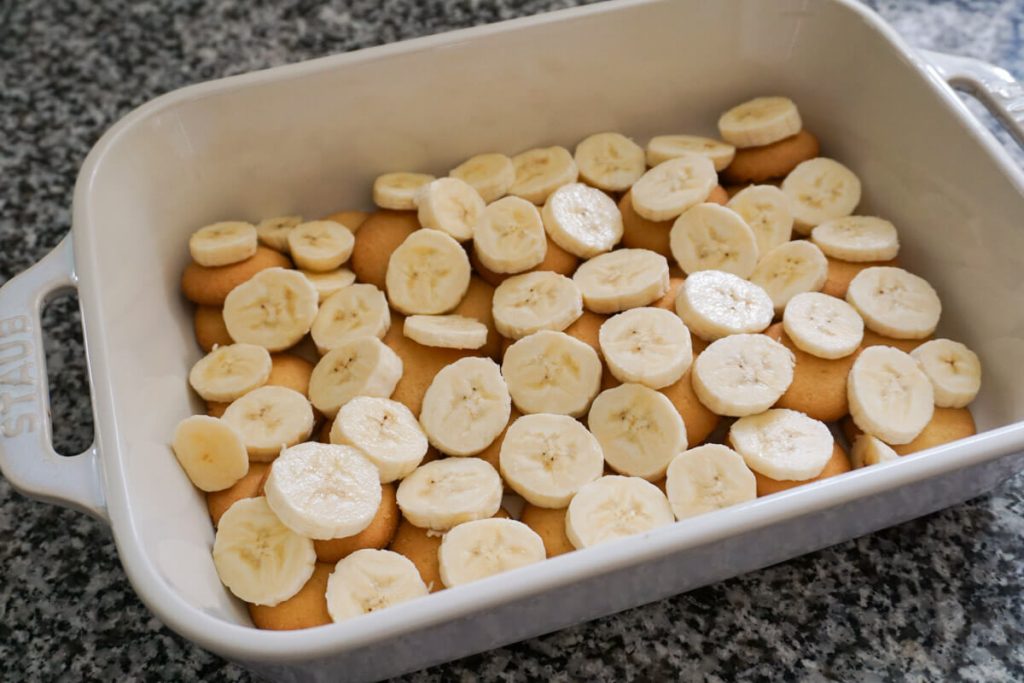
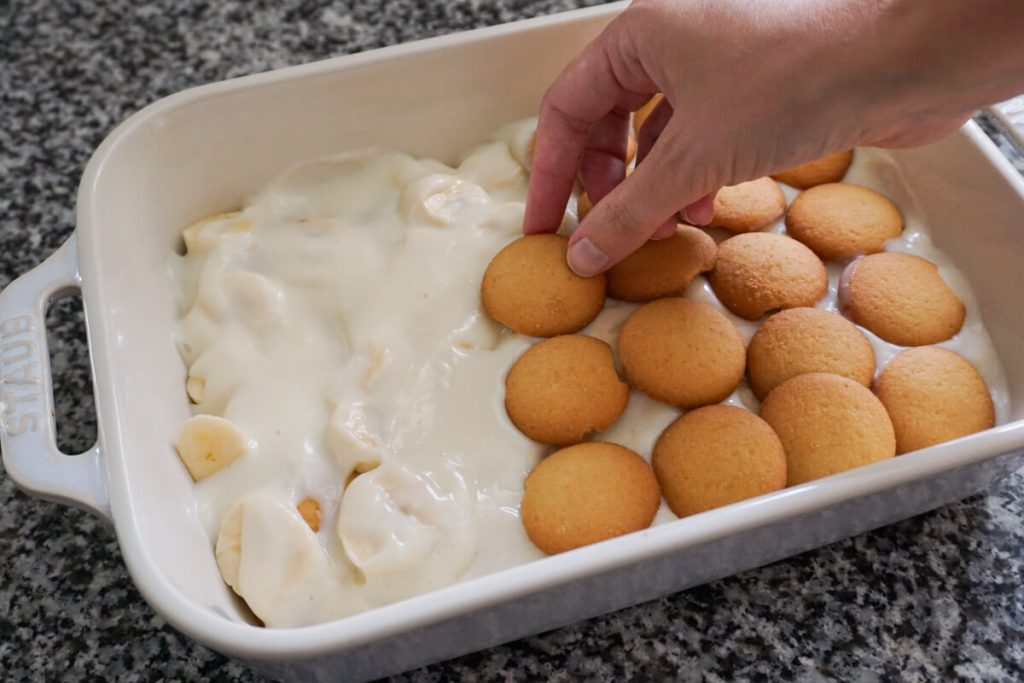
Assemble the banana pudding
Arrange a layer of vanilla wafers in the bottom of a 9×13 baking dish, slightly overlapping them. Top with half of the sliced bananas, followed by half of the vanilla pudding.
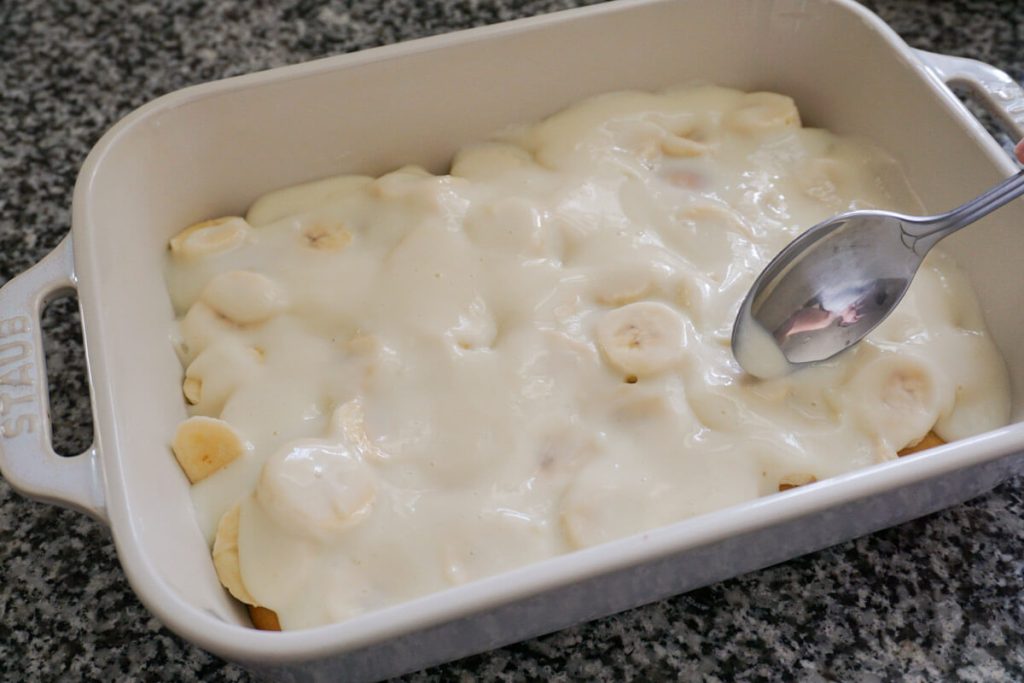
Repeat the layers with more vanilla wafers, bananas, and pudding.
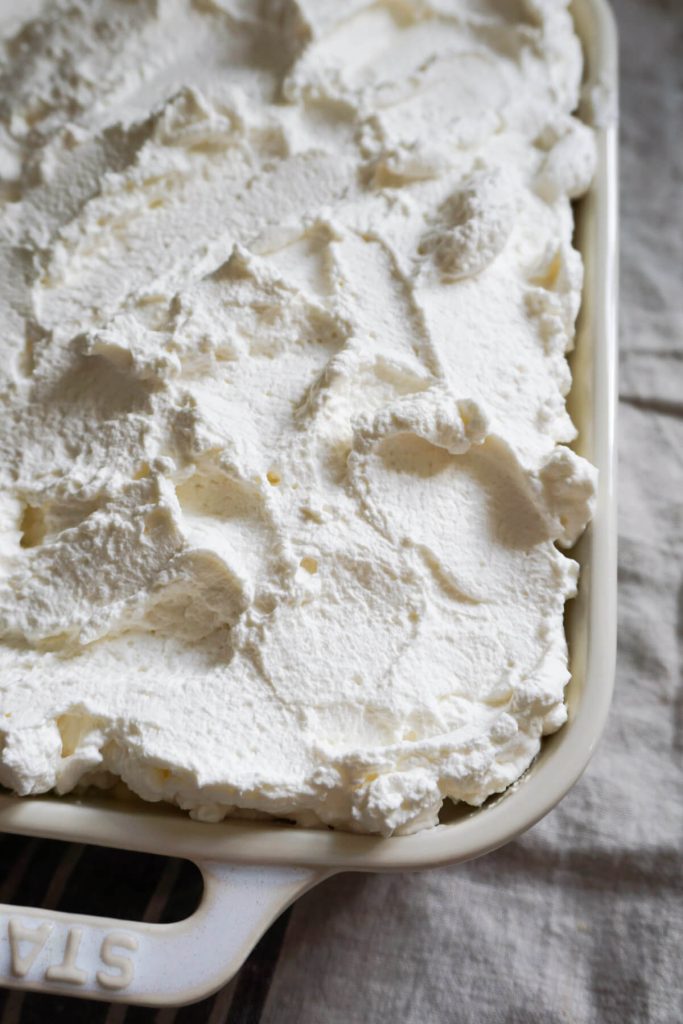
Spread the whipped cream evenly over the top. Cover and refrigerate for at least 4 hours before serving.
Banana pudding storage tips
Store leftover banana pudding tightly covered in the refrigerator for up to 3 days. This easy no-bake dessert is best served chilled straight from the refrigerator.
Frequently asked questions
Can I make banana pudding ahead of time?
Yes. Banana pudding is actually best when made ahead because it needs time to chill and set. I recommend making it at least 4 hours in advance, but overnight is even better.
Why is my homemade pudding lumpy?
Lumps usually happen when the eggs or cornstarch are not fully whisked in before cooking. Whisk thoroughly before heating and stir frequently while the pudding cooks.
How do you keep bananas from turning brown in banana pudding?
Using bananas that are just ripe, not overripe, helps slow down browning. Keeping the pudding tightly covered in the refrigerator also helps.
Can banana pudding get soggy?
Yes, the vanilla wafers will keep softening as they soak up moisture from the pudding, and the bananas will start to brown and release liquid. For the best texture, homemade banana pudding is best enjoyed within 2 to 3 days.
Can I freeze banana pudding?
I don’t recommend freezing banana pudding. The bananas and whipped cream can become watery and change texture once thawed.
Can I use store-brand vanilla wafers?
Absolutely. Any vanilla wafer-style cookie works well in this recipe.
Can banana pudding be made in a smaller pan?
Yes. While this recipe fills a 9×13 pan, you can also make a smaller batch in a 7×10 dish by reducing the ingredients to about two-thirds. I often do this when serving a smaller group.
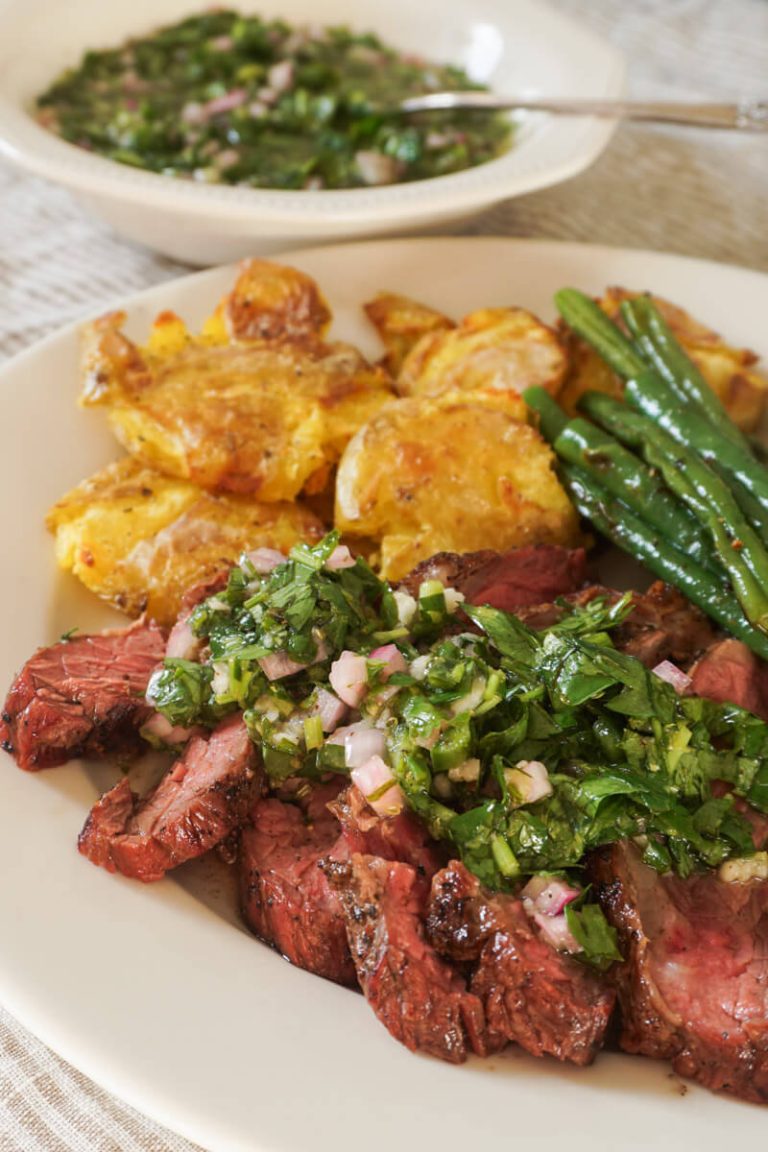
More warm-weather recipes you’ll love
Looking for more summer meal ideas? These recipes are perfect for warm evenings, cookouts, and relaxed summer baking.
This homemade banana pudding is one of those simple, nostalgic desserts that never lasts long in our house. With creamy homemade vanilla pudding, fresh bananas, whipped cream, and plenty of vanilla wafers, it’s the perfect no-bake dessert for summer gatherings, potlucks, or anytime you need something easy and comforting.
It comes together in about 30 minutes, uses simple ingredients, and works just as well for a crowd in a 9×13 pan or a smaller group. If you try it, I hope it becomes one of those recipes you come back to again and again.
Homemade Banana Pudding
Equipment
- 9×13 baking dish
- Measuring cups and spoons
- Medium pot
- Whisk
- Stand mixer with whisk attachment or hand mixer with a large mixing bowl
- Silicone spatula
Ingredients
For the vanilla pudding
- 5 cups whole milk divided
- ½ cup granulated sugar
- 5 tbsp cornstarch or arrowroot powder
- ½ tsp salt
- 3 large egg yolks
- 3 tsp vanilla extract
For the whipped cream topping
- 3 cups heavy cream
- 2 tbsp granulated sugar
- 1 tsp vanilla extract
For the layers
- 15 oz (family size) box of vanilla wafers
- 6-7 medium bananas firm and ripe
Instructions
Make the homemade vanilla pudding
- In a medium saucepan, whisk together the sugar, cornstarch, salt, egg yolks, and 1/2 cup of the milk until completely smooth. Slowly whisk in the remaining milk until fully combined with no lumps remaining.
- Place the saucepan over medium heat and cook, stirring frequently, until the pudding thickens and begins bubbling across the surface, about 5–10 minutes. Continue cooking for another 1–2 minutes until thick enough to coat the back of a spoon.
- Remove from the heat and stir in the vanilla extract. Allow the pudding to cool slightly while preparing the remaining layers.
Whip the cream
- In the bowl of a stand mixer or large mixing bowl, combine the heavy cream, sugar, and vanilla extract. Whip until stiff peaks form, scraping down the sides as needed.
Assemble the banana pudding
- Arrange a layer of vanilla wafers in the bottom of a 9×13 baking dish, slightly overlapping them. Top with half of the sliced bananas, followed by half of the vanilla pudding.
- Repeat the layers with more vanilla wafers, bananas, and pudding.
- Spread the whipped cream evenly over the top. Cover and refrigerate for at least 4 hours before serving.